Overview
You can add your own personalized forms, such as a cover page, to any forms package by uploading a document in iService. You can additionally create rules to identify which carrier(s) and product packages your form will be bundled with or you can assign the form to your profile. To do so, you can follow the instructions below.
Access FormsPipe Settings
1. Log into iService.
2. Click the Gear symbol in the top right of the screen and select Profile Settings.

For agencies with multiple GAIDs:
1. Click on the name of your organization on the left side of the screen.

This brings you to Profile Settings.
2. Click on Manage Settings to the right of FormsPipe.

Upload a Document
1. From the FormsPipe Setting screen, click the Customer Kits tab.

2. Click the New Document button. This brings up the Add Document screen.
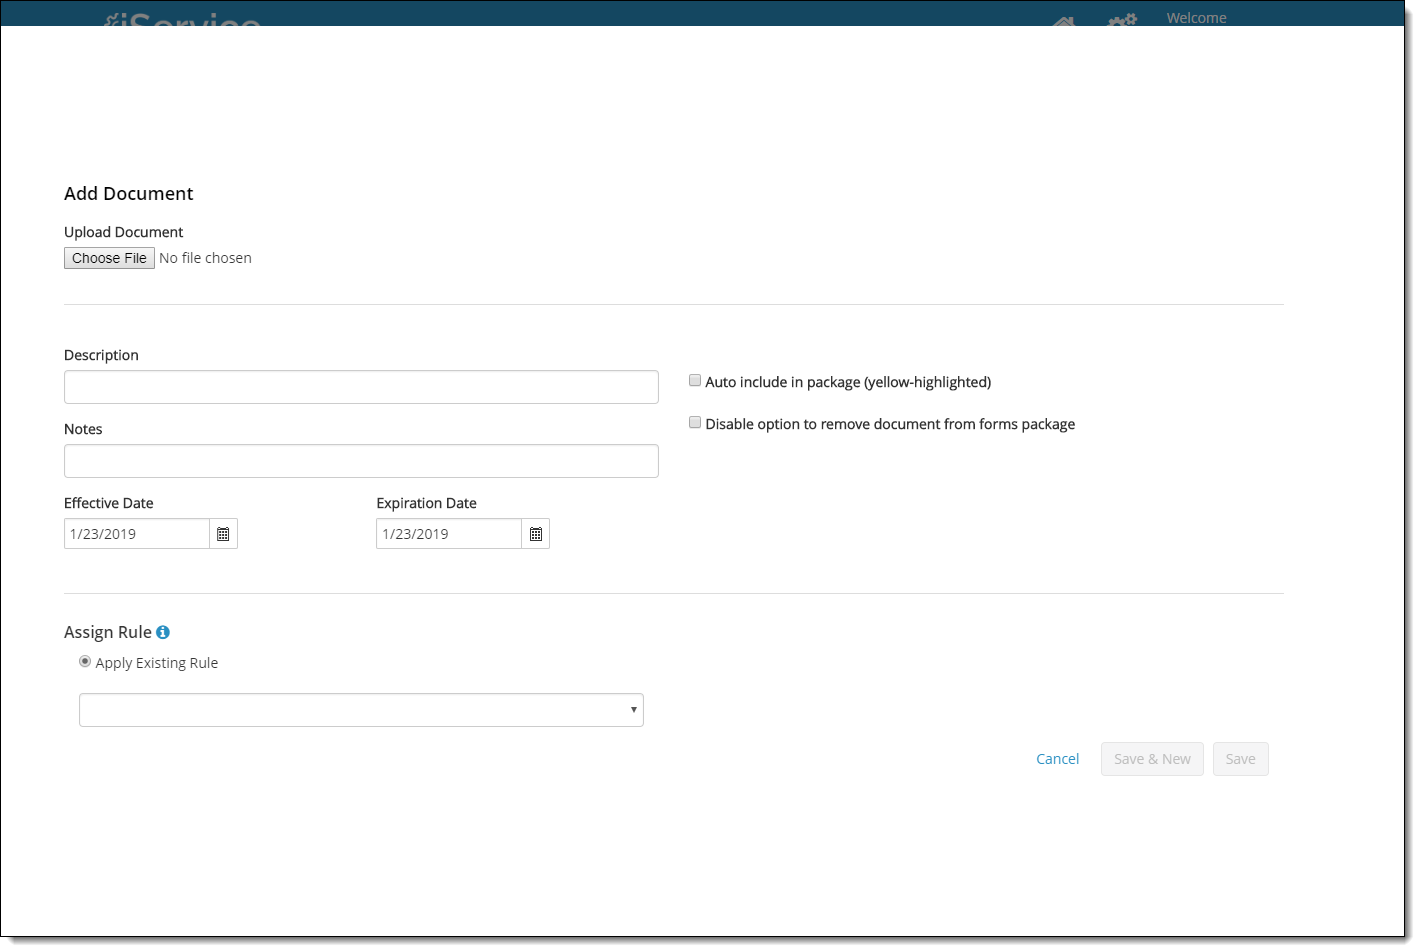
3. Click the Choose File button
4. Choose documents to upload from your computer and click Open.
5. Enter the Description and any Notes in the respective fields.
6. You can also select to automatically include the document in a forms package. When selected this form will show as a required form in the package. (yellow-highlighted)
7. You can also select to disable the option for agents to remove the document from the forms package.
8. Next select the Effective and Expiration dates of the form.
9. Finally, you will need to Assign the Rule. (If you need help adding rules, see below.)
10. Once the rule is assigned, click Save. If you have additional documents to add, click Save & New to bring up a new Add Document form.
11. The document will be added to the Document Library in iService on the Customer Kits tab.
Edit, Disable or Delete a document from Customer Kits
To Edit, Disable or Delete the document, click on the gear symbol to the right of the document.

Create a Rule
1. On the Customer Kits tab, click the New Rule button. This brings up the New Rule screen.
2. Name the new Rule

3. Next you can select the locations, service types and Products for this rule.
4. If selections are not made, the system will display “All” available locations, products and service types by default.
5. Once the necessary locations, service types and products, you can list existing documents to apply this rule to.
5. Click Save.
Manage Rules
1. On the Customer Kits tab, click the Manage Rules option to expand the menu. This will show all created rules.

2. Click on the gear symbol to the right of the rule you wish to edit.
3. You can select to either Edit, Disable or Delete a rule.
- Edit – Here you can update locations, service types and products (Enabled rules are shown in white while disabled rules are highlighted in gray.)
- Disable – This option allows you to disable a rule without deleting it entirely
- Delete – this will remove the rule from the system entirely